In the following steps you will add your server resources for CalDAV (Calendar) and CardDAV (Contacts) to your Collaboration platform.
1. Open the system preferences of your macOS device.
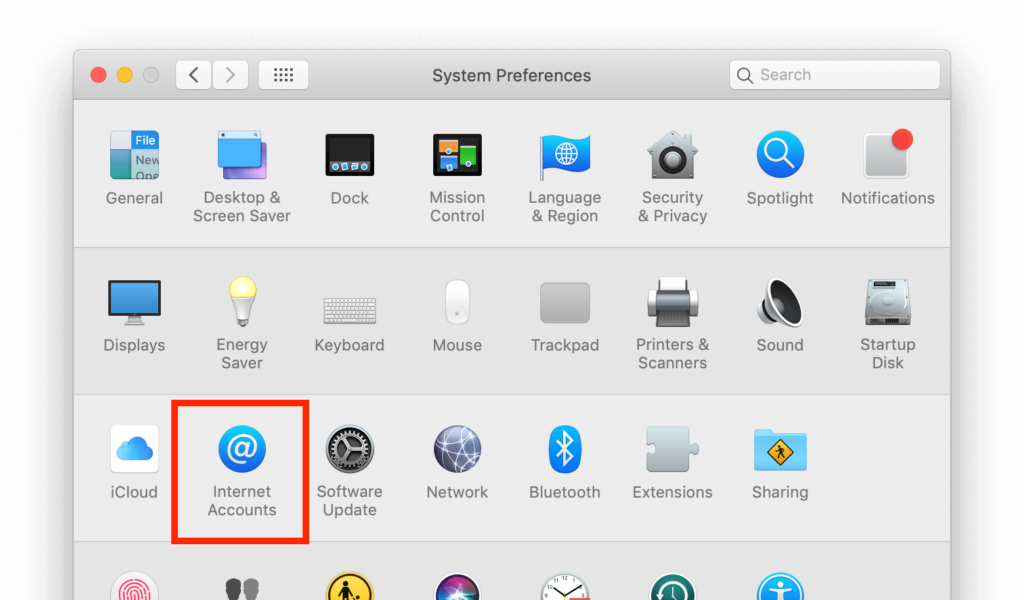
2. Navigate to Internet Accounts:
3. Click on Add Other Account… and click on CalDAV Account for Calendar or CardDAV Account for Contacts:
Note You can not setup Calendar/Contacts together. You need to setup them in separate accounts.
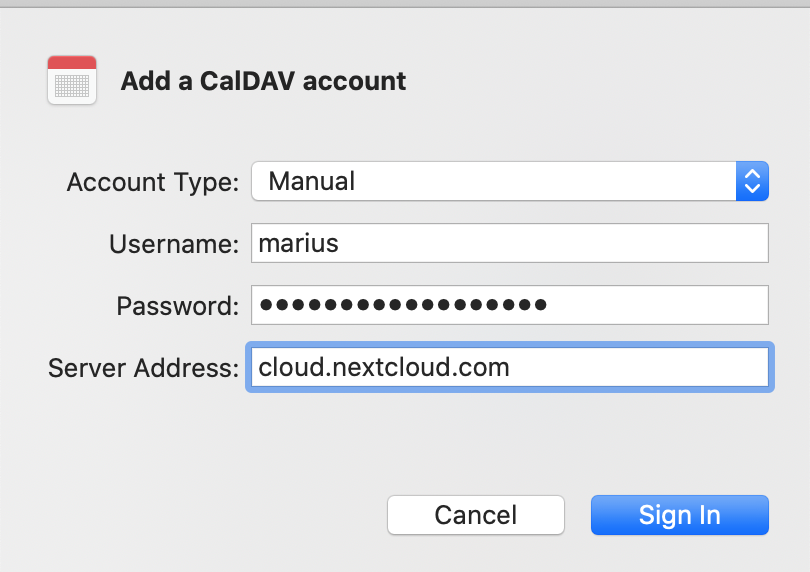
4. Select Manual as Account-Type and type in your respective credentials:
Username: Your Collaboration platform username or email
Password: Your generated app-password/token (Learn more).
Server Address: URL of your Collaboration platform server (e.g. https://cloud.example.com)
5. Click on Sign In.
For CalDAV (Calendar): You can now select, with which applications you want to use this resource. In the most cases, this will be the “Calendar” application, sometimes you may also want to use it for your Tasks and reminders.
Troubleshooting
macOS does not support syncing CalDAV/CardDAV over non-encrypted http:// connections. Make sure you have https:// enabled and configured on server- and client-side.
Self-signed certificates need to be properly set up in the macOS keychain.
In case of questions please contact us:
Do you like cookies?
We use cookies to ensure you get the best experience on our website.